


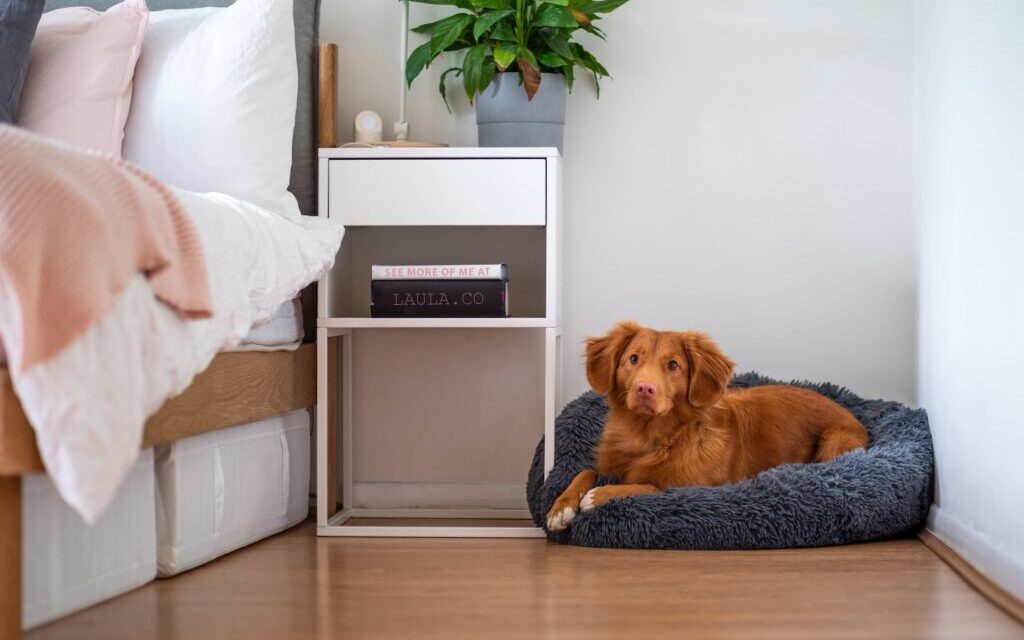
Laminate floor installation offers the look and feel of real wood, but often at a fraction of the cost. Not only is it aesthetically pleasing, but it’s also durable and long-lasting when installed and maintained correctly. As a seasoned wood flooring installer, I’ve put together this step-by-step guide to help you with your laminate floor installation journey, from start to finish.
1. Choosing the Right Laminate Flooring
Thickness: Laminate planks come in various thicknesses, usually ranging from 6mm to 12mm. Thicker planks tend to feel more like solid wood underfoot and can be more forgiving of minor imperfections in the subfloor.
AC Rating: The Abrasion Class (AC) rating measures durability. For residential spaces, AC3 or AC4 is typically recommended. For commercial areas, consider AC5.
Design & Texture: From oak to cherry and rough to smooth, laminate comes in a myriad of designs and textures. Choose one that matches your desired aesthetic.
2. Preparing the Subfloor
Cleaning: Ensure the subfloor is clean, dry, and free from debris.
Leveling: Use a level to check for any irregularities. For minor bumps, sand them down. For dips, fill them with a leveling compound.
Moisture Barrier: Particularly for installations over concrete, a moisture barrier will prevent potential damage from ground moisture seeping into the laminate.
3. Gather Your Tools
Tape measure
Spacers
Tapping block
Pull bar
Underlayment (if not pre-attached)
Miter saw or laminate flooring cutter
Rubber mallet
4. Install the Underlayment
Roll out the underlayment across the entire floor, ensuring it’s flat and smooth. This will act as a cushion and moisture barrier for your laminate.
5. Starting the Installation
First Row: Start in a corner, placing spacers along the walls to account for expansion. Lay your first plank with the tongue side facing the wall.
Subsequent Planks: Connect the short end of the next plank to the previous one, gently tapping it with a mallet if necessary.
6. Continuing the Rows
Stagger the Seams: Ensure the seams of your planks are staggered at least 12 inches apart between rows for a natural look and added strength.
Cutting Planks: Measure and cut planks as necessary, using the miter saw or laminate cutter. Remember always to wear safety goggles.
7. Finishing the Installation
Last Row: This might require cutting planks lengthwise. Ensure they fit while still leaving space for expansion.
Remove Spacers: Once all planks are installed, remove the spacers from the perimeter.
Install Trim & Moldings: Add baseboards or quarter-round moldings to cover the expansion gaps. Transition strips may be needed where the laminate meets other types of flooring.
8. Care and Maintenance Advice
Regular Cleaning: Use a damp (not wet) cloth or mop to clean spills. For regular cleaning, a microfiber mop or laminate cleaner will suffice.
Protect the Floor: Use furniture pads under legs to prevent scratching. Avoid rolling heavy furniture across the laminate.
Promptly Address Spills: Laminate flooring can warp if exposed to water for prolonged periods. Always clean up spills immediately.
Use Entry Mats: Place mats at entrances to trap dirt and grit that could scratch or damage your floor.
Conclusion
Laminate flooring installation is a rewarding DIY project that can transform the look of a room or entire home. By carefully choosing your materials, preparing your subfloor, and following the steps meticulously, you can achieve a professional-looking finish. Remember, the key to a long-lasting laminate floor lies not just in proper installation but also in diligent care and maintenance. Happy flooring!


